

An automatic cat feeder saves time only when it stays clean and works reliably. Kibble crumbs, food oils, dust, and moisture can collect in the bowl, hopper, and dispensing path. If those areas are ignored, food may smell stale, pieces can stick together, and moving parts or sensors may stop working as intended.
The safest cleaning method depends on your feeder. Some bowls and hoppers can be washed under running water; the electronic base, camera, charging port, and other powered parts usually cannot. Always check your model's manual before soaking a part or putting it in a dishwasher.
How Often Should You Clean an Automatic Cat Feeder?
Clean the food bowl after every use for wet food and at least daily for dry food. The CDC recommends cleaning pet bowls after every wet-food use and every day for dry food and water; the FDA likewise advises washing pet food bowls and scooping utensils with soap and hot water after each use.
For the rest of the feeder, use condition as well as the calendar. Empty crumbs from the dispensing area regularly and inspect the hopper, chute, seals, and moving parts every week. Deep-clean sooner if you notice greasy residue, stuck food, an unusual smell, moisture, insects, mold, or repeated dispensing errors.
Daily or after each meal
- Remove leftover food and wash the bowl.
- Wipe visible spills from the exterior.
- Check that the food outlet is clear.
Weekly inspection
- Check the hopper, lid seal, rotor, and chute for crumbs or oil.
- Wipe sensors and camera glass with a clean, soft cloth if your model includes them.
- Confirm that the power port and electronic base remain clean and dry.
Before You Start
Switch the feeder off, unplug it, and remove batteries if the manual instructs you to do so. Take out all food and place it in a clean, dry container. Photograph the assembled feeder before disassembly if several parts look similar.
Gather warm water, mild unscented dish soap, a soft sponge, a small bottle brush or soft toothbrush, clean towels, and a dry microfiber cloth. Avoid abrasive pads that can scratch food-contact surfaces. Do not use bleach, disinfectant, vinegar, or another cleaner unless the manufacturer specifically allows it and gives rinsing instructions.
How to Clean an Automatic Cat Feeder
1. Wash the bowl and tray
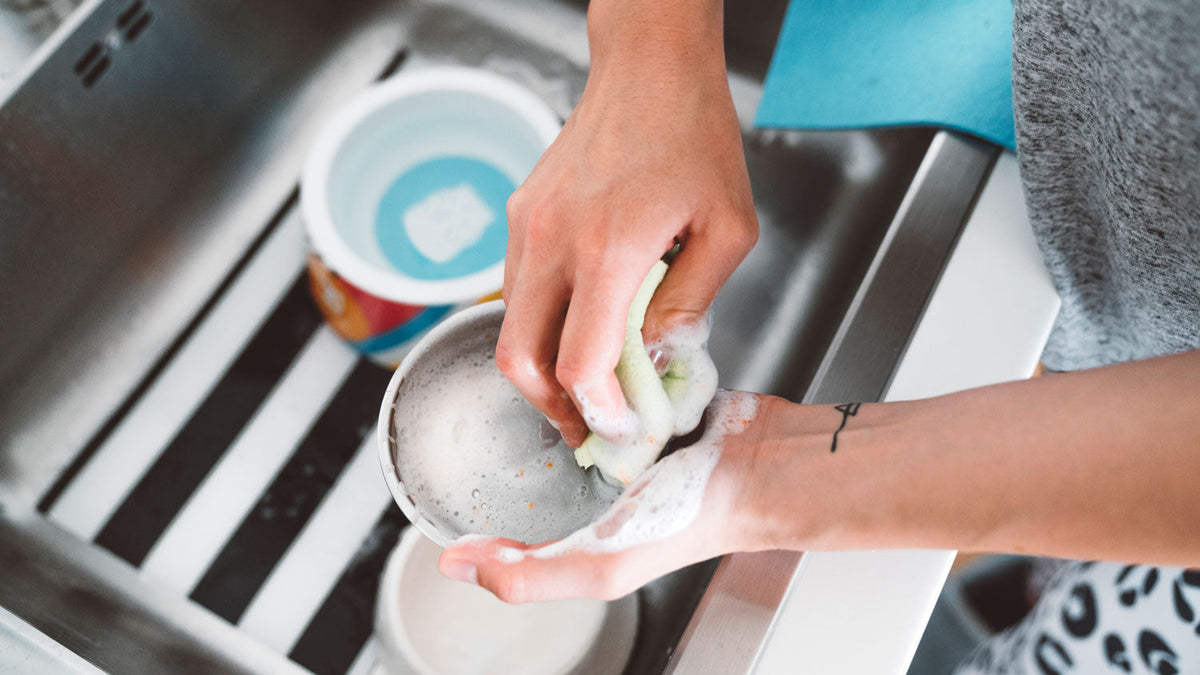
Remove the bowl and any detachable tray. Wash them with warm water and dish soap, paying attention to corners and the underside. Rinse until no soap remains. If the manual marks these parts as dishwasher-safe, place them in the dishwasher as directed; do not assume every plastic or metal insert is dishwasher-safe.

2. Empty and clean the hopper
Discard stale crumbs rather than mixing them with fresh food. Remove the hopper and lid only if your model allows it. Wash washable parts with warm soapy water, then rinse well. If the hopper is not washable, wipe it with the method specified in the manual and keep liquid away from the motor and electronics.
3. Clear the dispensing path
Food dust often gathers around the rotor, chute, and outlet. Remove detachable dispensing parts according to the manual. Use a soft brush to loosen crumbs from grooves and corners. Do not force gears, pull wiring, or run water through the feeder base.
4. Clean sensors, camera, and exterior
Use a dry or barely damp soft cloth on the exterior. Gently wipe sensor windows and camera glass so dust does not interfere with detection or image quality. Never spray cleaner directly onto the feeder, and keep charging ports, buttons, seams, and the base dry.
5. Dry every part completely
Air-dry washed parts fully before reassembly. Moisture trapped in the hopper or dispensing path can make dry food clump and can encourage unwanted buildup. Check grooves, seals, and the underside of the bowl rather than relying on the visible surfaces alone.
6. Reassemble and test
Reinstall each part in the order shown in the manual. Confirm that the bowl, hopper, rotor, and lid sit securely. Add a small amount of food and run one manual dispensing cycle. Watch for unusual noise, missed portions, or food catching in the outlet before refilling the hopper.
Cleaning Different Feeder Types
Dry-food gravity and automatic feeders
Focus on oil and crumbs in the hopper, rotor, and chute. Keep kibble dry and do not refill over old dust.
Wet-food feeders
Treat removable food trays like other food-contact dishes and wash them after each use. Follow the manual for ice packs, seals, and refrigeration components.
Smart feeders with cameras or recognition features
Clean the food path as above, then gently wipe the lens and sensors. The camera and electronic housing should never be submerged.

Common Cleaning Mistakes
- Washing the base: water can damage the motor, sensors, charging system, or camera.
- Reassembling damp parts: trapped moisture can affect food freshness and dispensing.
- Using strong fragrance or harsh chemicals: residue and odor may remain on food-contact parts.
- Ignoring the chute: a clean bowl does not fix crumbs or clumps inside the dispensing path.
- Assuming parts are dishwasher-safe: heat can warp parts or damage seals when the manual does not approve dishwasher use.
Frequently Asked Questions
Can I put automatic feeder parts in the dishwasher?
Only if the model's manual identifies those specific parts as dishwasher-safe. Never put the powered base, camera, cables, or electronic components in a dishwasher.
Can I use vinegar?
Use it only when the manufacturer allows it. Mild dish soap and thorough rinsing are the safer default for washable food-contact parts.
What should I do if the feeder still smells after cleaning?
Check hidden grooves, seals, the dispensing rotor, and the underside of the bowl. Replace damaged or permanently odorous parts, and contact the manufacturer if the smell comes from the electronic base.
Why is my feeder dispensing less food?
Check for clumps, crumbs around the rotor, an incorrectly installed part, or a blocked outlet. If cleaning and correct reassembly do not solve the problem, follow the troubleshooting steps for your model.
A Simple Routine That Keeps the Feeder Reliable
Wash the bowl frequently, inspect the food path every week, and deep-clean whenever residue or dispensing problems appear. The most important rule is simple: separate washable food-contact parts from electronics, follow the model-specific manual, and let every part dry before adding food.

Leave a comment
All comments are moderated before being published.
This site is protected by hCaptcha and the hCaptcha Privacy Policy and Terms of Service apply.